The greenhouse is coming along. Unfortunately the cold weather came before I finished, so Christie and I spent about an hour last Friday night, hauling all of my plants into the garage.
The final component (besides the details) to the greenhouse construction is the fastening of the walls and roof. The material I have chosen to use is triple-wall polycarbonate panels. These panels come in 6' by 24' sheets. Yes, you read that right: twenty-four feet long. The double-wall polycarbonate comes in much more manageable sizes because it is more commonly used. The triple-wall is generally delivered in big trucks to the site of the greenhouse and assembled by a crew. It's not commonly used for hobby greenhouses the size of mine. When we picked up the panels at the greenhouse supply store in Oklahoma City, we had to take a circular saw with us and cut the polycarbonate on site so that it would fit in our trailer.
Then I made the mistake of unloading the polycarbonate in the backyard and letting it sit in the rain for a week. The rain doesn't
hurt the polycarbonate, but I had not capped off the ends and prepared them for hanging, so the walls filled with water. The water is not easy to remove, let me add.
We had to use a combination of hair dryer, leaf blower, heater and dehumidifier to remove the moisture in the walls.
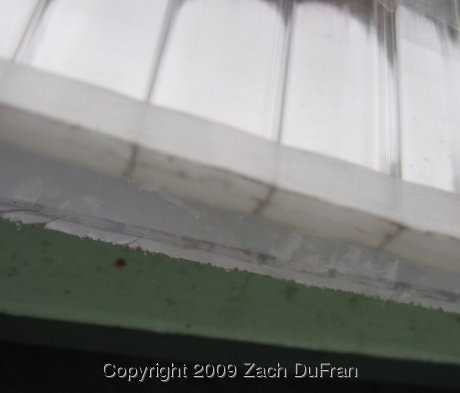 |
| Open end of polycarbonate panel, taped with clear breathable medical tape to allow water to run out the bottom end. |
Next we had to do the
normal preparation for hanging the panels. Before a panel is hung, you must first cap off the top of the panel with aluminum tape and then a u-shaped bracket of polycarbonate. The bottom of the panel is capped off with porous tape (to allow condensation draining) and then another u-shaped bracket.
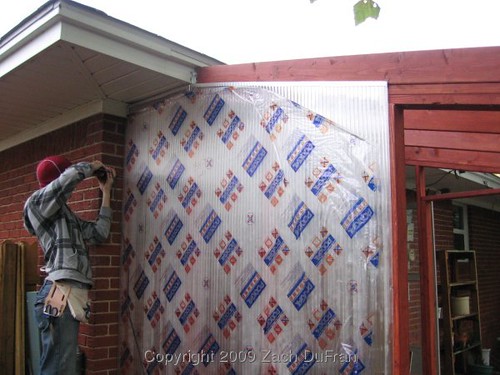 |
| First panel being installed. The film with labels was removed after the panel was attached. |
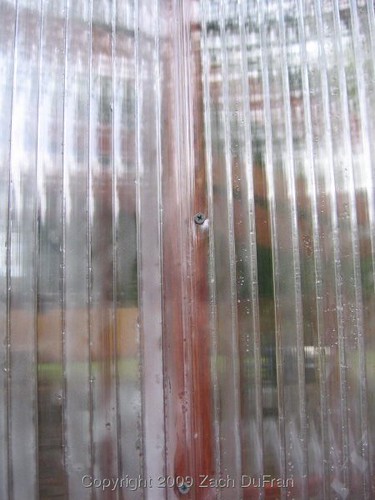 |
| Seam of two panels meeting at a stud. You can barely notice. |
After a couple of hours of work on both Saturday and Sunday, we had hung all of the walls and only had the roof left. By that time we were pretty proficient in terms of taping and capping the panels. The only difficulty with the roof was being able to reach over to screw the panels into the rafters.
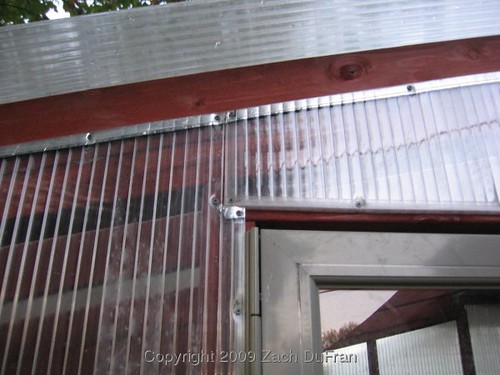 |
| Multiple panels fitting together over the door. You can see the aluminum tape used to cap the top sides of the panels. |
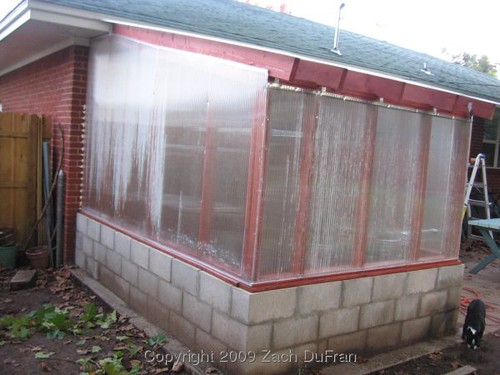 |
| View of greenhouse with all polycarbonate panels installed. You can't really see the greenhouse roof from this angle, but trust me - it looks just like the walls. |
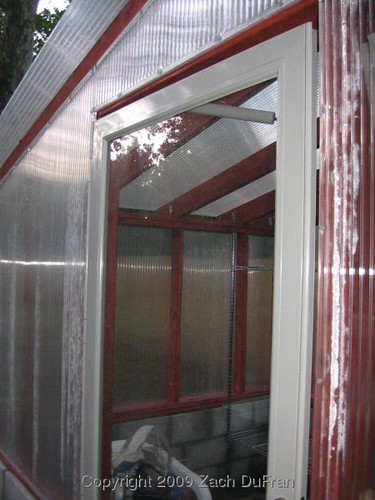 |
| View inside of the greenhouse through the doorway. |
There is still plenty of work to do in order for my greenhouse to be plant ready: caulking, finish the door installation, attach the soffits (which are currently open), stain any remaining unfinished wood.
In my next greenhouse update, I'll take you inside to see the shelves that I have purchased!
See other phases of the project here:
How is the light transmission through this material? Seems like an excellent insulator as greenhouse siding. :)
ReplyDeleteThe triple wall polycarbonate panels have excellent light transmission. They are used by most of the big greenhouses north of here. The commercial greenhouses around me use the double wall, but I wanted higher thermal properties.
ReplyDeleteYou can read some of the specs here.
I cannot wait to walk inside when it is filled with plants and has "the greenhouse smell." It ranks in my top ten favorite smells. You all have done an exquisite job!
ReplyDeleteProud of you guys :-)
That looks great! It must be exciting to being close to having plants in there.
ReplyDeleteThank God for the father-in-law! I know that I would be a great tool-handler too! You have done an excellent job with this project! Did you have to get a building permit before starting? --Brian
ReplyDelete