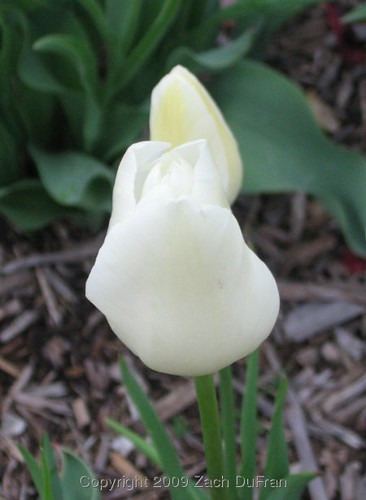
Showing posts with label tulips. Show all posts

Friday, March 16, 2012

Trip Report: Garvan Gardens' Tulip Extravaganza

Last weekend, Christie and I drove over to Hot Springs, Arkansas for the weekend.  The town is aptly named after the natural springs that flow from the ground and have brought travelers here for hundreds of years.


Our trip to Hot Springs was inspired by the Tulip Extravaganza at the Garvan Woodland Gardens, but we also enjoyed the National Park focused on the hot springs.  (Ask the locals and they’ll tell you that it is the first US National Park.  In truth, it doesn’t have that official designation, but it was the first nature reserve set aside by the US government, before there was a national park system.)

img_6870_35496761995_o
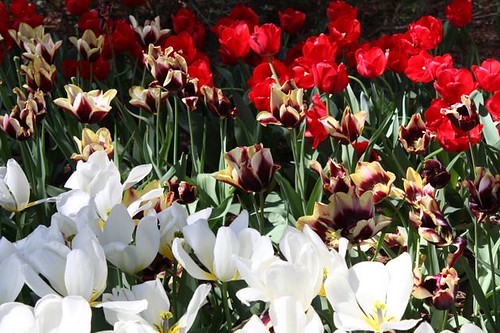
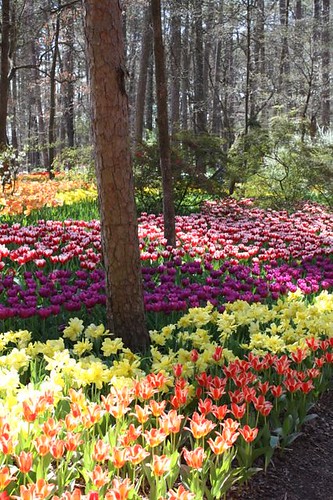
Tulips at Garvan Woodland Gardens
As you can see, the gardens were beautiful.  They are planted fresh each year so that they can create new swaths of color and have premium new bulbs from Holland.  We enjoyed the diverse palate of colors and tulip styles.

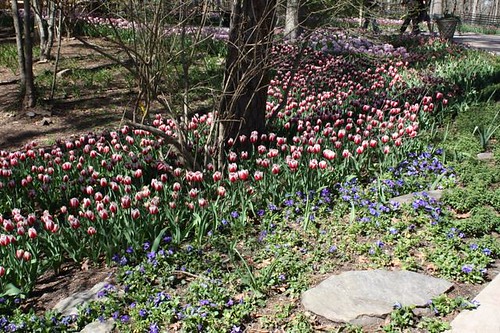
img_6849_35329665352_o
Tulips at Garvan Woodland Gardens
The gardens included lots of neat areas and we spent our whole afternoon wandering through the acres of carefully designed planting.  I have uploaded a photo album with tons of pictures, so feel free to peruse them all by clicking on the photo below.

Garvan Woodland Gardens 2012
Click for complete album

Thursday, April 1, 2010

Signs of Spring

A little over a week ago was the first day of Spring.  This year Spring greeted central Oklahoma with another snow event.  For the first time in my life, I lost count of how many times it snowed on us this Winter!  It was a record breaking year.

The good news to come from the snow is that everything was well watered throughout the cold half of the year.  And now the trees are starting to wake from their slumber.

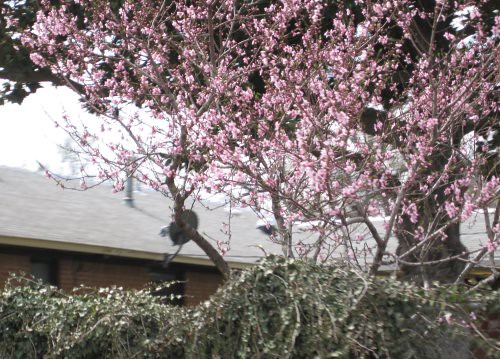
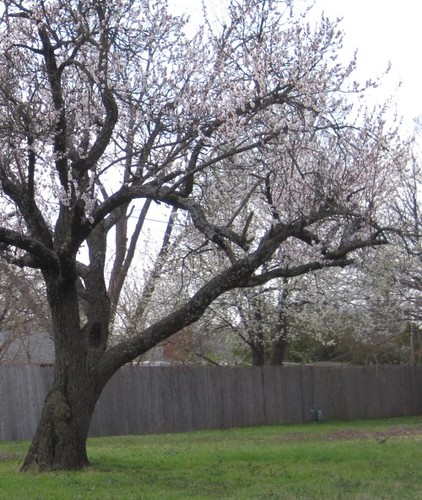
unknown_fruit_tree_2010
A blooming fruit tree near our house
Every year I notice new things in the Spring.  This year I noticed many trees in my neighborhood covered in little fuzzy red along the tips of their branches.  The trees were so thoroughly covered that it almost looked like fall colors on the trees.  I thought maybe it was the new leaves coming out of buds on the trees.  On closer inspection, I decided they weren't leaf buds emerging, but tiny blossoms.  These trees are not what I would considering flowering trees.  I'm wondering if these trees always light up red in the Spring or if this only happens after really wet Winters like the one we just had.  I'm thinking this Winter and Spring were special.  Unfortunately I didn't get any pictures of these trees and now they have stopped their show of red.  I'll be watching for this next year.

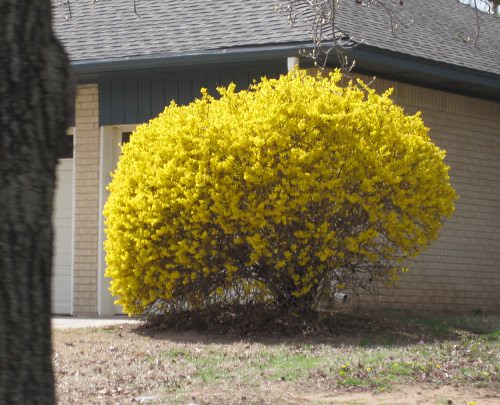
forsythia_2010
I pass this Forsythia on my way to work every morning. I like to call it the "Glowing Orb of Gold."
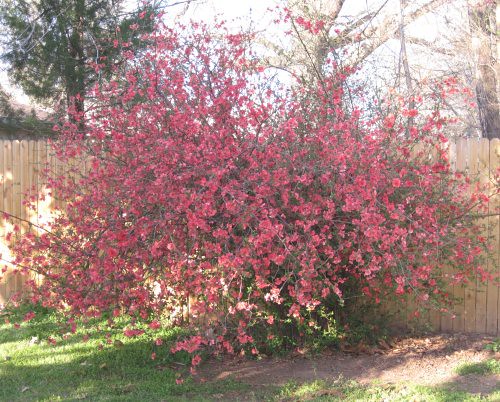
quince_full_2010
Our quince bush as of a couple of days ago.
Colors that I never miss in the Spring are the yellow Forsythias and pink Quince bushes.  They are some of my favorite colors during the year.  This year our Quince bush bloomed more than a month later than it did last year!  There are many other fruit trees in bloom: cherry, plum, peach and pear.

large_cherry_tree_2010
I pass this beautiful tree on my way to work each morning, as well.  I believe it is a Cherry tree. It is old and large and gorgeous. I couldn't capture it well in the picture. The blooms sort of blend in with the sky color. I'll have to try again next year.
Christie and I spent some time on Saturday just driving around town looking at all of the blooming trees.  It was like looking at Christmas lights.   We drove slowly down the streets, looking down each side street and backtracking whenever one of us announced a good tree worth turning around for.

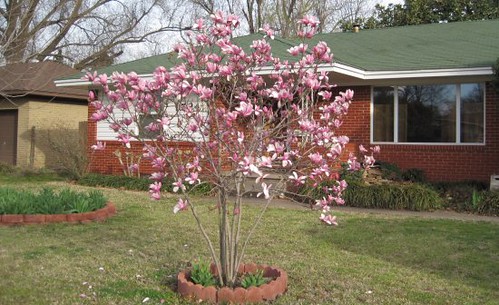
saucer_magnolia_2010
Our Saucer Magnolia / Tulip Tree (Magnolia x soulangeana)
We didn't realize how many large Saucer Magnolia/Tulip Trees (Magnolia x soulangeana) were in town until this weekend.  There are some surprisingly large ones in our neighborhood that must be very old, since they are relatively slow growing trees.  Many of these trees were in back yards and we only saw their tops over fences because we were looking for them as we drove around town.

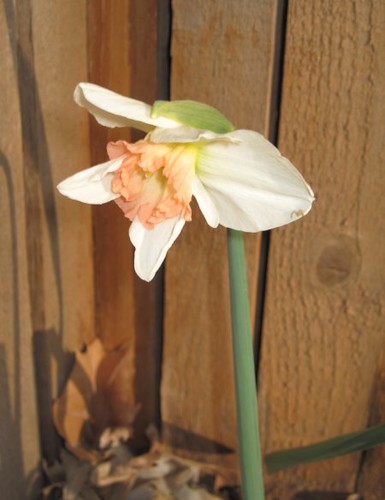
rust_daffodil_2010
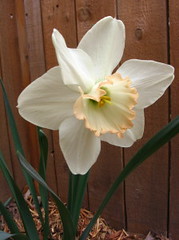
My favorite Daffodil is white with a rusty orange center. We have just a couple of these blooming in our corner garden.
Daffodils and Hyacinth have been blooming all over town for a couple of weeks and Tulips are just getting started.  We are excited about the unveiling of our new tulip colors this year.  It won't be long!

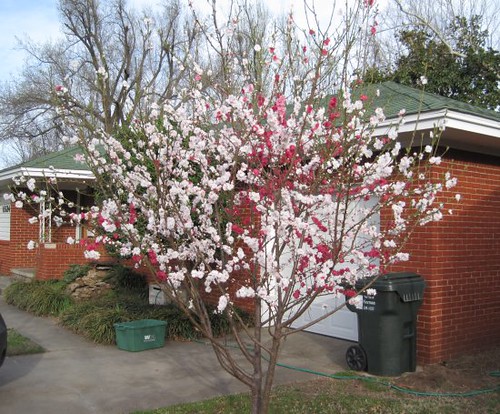
peach_full_2010
Our peach tree
Our multicolored Peach tree is blooming up a storm, as well.  The dual colors of this tree amazes everyone that looks at it.  I have a lot of close up (macro) pictures I will be sharing of many of these blooms over the next week.  Stay tuned!

Thursday, January 14, 2010

Book Review: The Black Tulip

Over the last year I have read several plant-related books that have referenced a classic historical fiction novel by Alexandre Dumas, The Black Tulip.  Alexandre Dumas is the author who wrote The Three Musketeers and The Count of Monte Cristo.  After reading about the importance of this book and its portrayal of a very real tulip obsession in Holland, I found myself an old copy of the book and read it last Fall.

The book focuses on a tulip fancier who is committed to being the first person to breed a truly black tulip, a challenge issued by the royal plant society.  The story intertwines historical figures and events, to really put the reader into the time frame of these events.

I have to say that this book was one of the most enjoyable books I've read in quite a while.  It has a nice love story, with the main character being equally entranced in his love interests: a female and a trio of tulip bulbs.

I would recommend this book to anyone, really.  You don't have to be a plant nut to enjoy the book, and it might even shed a little light on what may otherwise seem to be a crazy obsession.

Do you know of any other great works of fiction that involve plants in pivotal roles?

Tuesday, November 10, 2009

Modifying the Tulip display

We have had a rather stunning Tulip display in the front yard for about 6 years now.  I started by planting red and white tulips staggered in concentric circles in the figure 8 garden.  Those individual bulbs have multiplied quite a bit over the years.

This Fall we decided to add to the display, without removing any of the current bulbs.  Red and yellow Tulips are easy to come by and are a common color scheme.  I was adamant that we didn't do something common.  We looked into different colors that we could add to our red and white to make a nice theme.  We decided to add a couple of pinks and purples to the mix.  It will be a sort of Valentine's mix of colors.

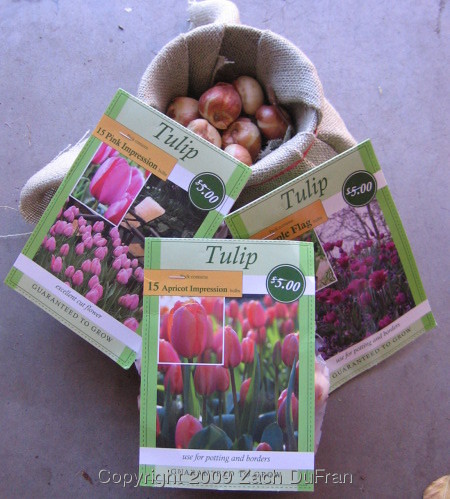
new_colors
New tulip colors being added for next spring.
We are adding about 60 bulbs this year - 15 Apricot Impressions, 15 Purple Flag, 15 Pink Impressions and 12-15 Lilac bulbs that my in-laws bought in the Netherlands.

I'm excited to see how these bulbs complement our Spring display next year.  We were also careful to pick Tulip styles that match our existing contingent of Darwin hybrids.  The added bulbs didn't have to be Darwins, but we didn't want to add a bunch of different heights and frilly shapes to our existing display.

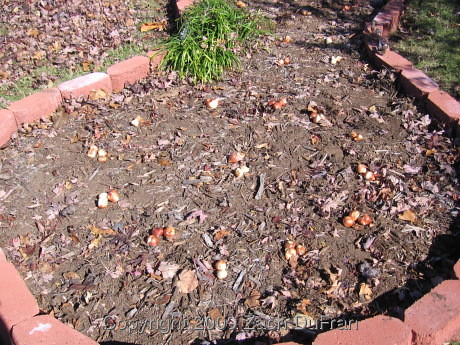
new_bulbs_in_bed
Bulbs laid out carefully between the circles of existing bulbs and ready to plant.
Future modifications will probably mean that we'll have to dig up bulbs and replace them with different colors.  The other option would be to have an "anything goes" bed of Tulips, but for now we're going for more of a planned look and I think it has been working really well.  We've even had a couple of neighbors ask if they could use our Tulip bed for photo shoots with their kids.  We were happy to oblige!  That's what it's all about - having others enjoy our Tulip bed.

Monday, June 15, 2009

Trip Report: Halifax Public Gardens

I was able to attend a meteorology conference in Halifax, Nova Scotia during the first week of June.  I had never been to Nova Scotia before and I needed to stay in the city for the week, but I was still able to get in a little sight-seeing.  Along with some historical sights, I visited the Public Gardens, which is a Victorian Garden originally established in 1867.

The gardens are well maintained and well used by locals.  I was surprised by the number of plants and trees in bloom while I was there.  As you can see in the map above, there is a large pond (including ducks) and a couple of smaller water features.  There is also a nice bandstand, which is a common music venue during the Summer.

img_1790_34686773023_o
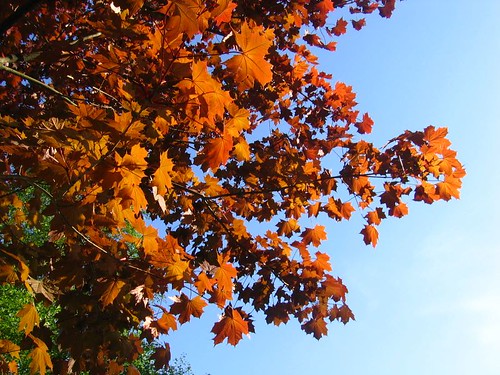
Maple tree (Acer sp.) in the Halifax Public Gardens
Apparently the gardens were badly damaged in September 2003 by Hurricane Juan.  Many large trees were destroyed.  When I was there, the signs had all been covered over with new growth.

img_1786_34655544304_o
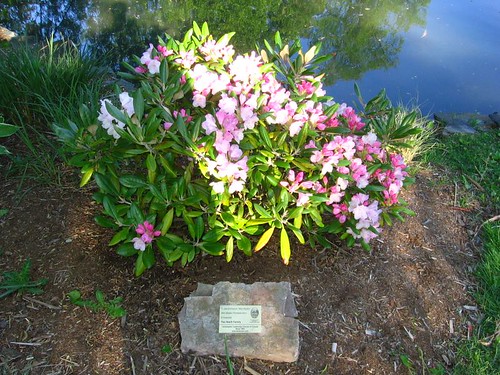
Rhododendron in the Halifax Public Gardens
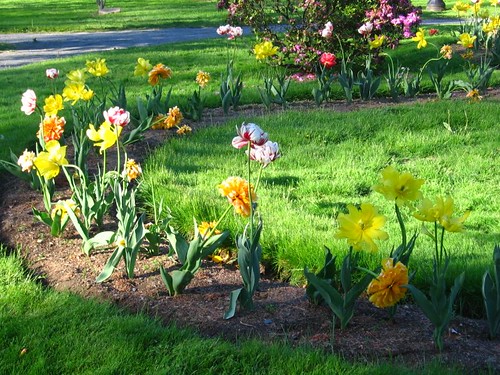
Some of my favorite plants were the orange Maple trees (pictured above), the rhododendrons (above) and the tulip beds (below).  I also saw a planting of neat Euphorbias, which might have been 'Tiny Tim.'

img_1797_34655528174_o
Wandering Tulip bed at the Halifax Public Gardens

See my photo album by clicking the image below.

Halifax Garden

Wednesday, April 15, 2009

The Tulip Explosion

About 5 years ago I created a "figure 8" shaped garden in the front yard around a young maple tree that had just been planted.  Inside the flowerbed I planted 2 packages of tulips - 16 red and 16 white.  In April the tulips open, the red tulips first and the white ones about a week later.

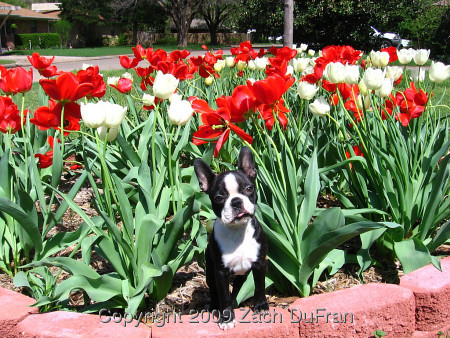
pw_tulip_bed
Pee-Wee in front of the tulip bed - Spring 2006
This is an event we look forward to each year.  It is probably the most anticipated moment in our garden.

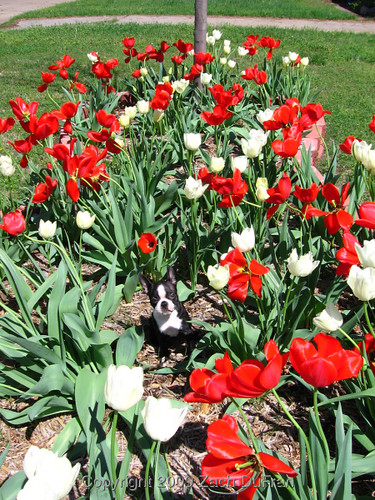
peewee_tulip_above
Pee-Wee in the tulip bed - Spring 2006
When I first planted the tulips I set them out geometrically.  I alternated between red and white, making 2 concentric circles in each half of the corner garden.  The outer circle of the larger half of the "figure 8" was planted with 7 whites and 7 reds.  The inner circle was planted with 3 of each.  In the smaller half of the "figure 8" I planted 4 of each in the outer circle and 2 of each in the inner circle.  Is my math correct?  That should be 16 of each color for the first year.

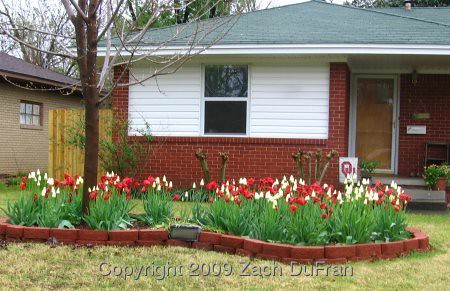
tulip_bed_house_2009
Our tulip bed in bloom - Spring 2009
We used red and white tulips because we live in Norman, Oklahoma, home of the the University of Oklahoma Sooners.  [See the OU flag in the picture above?]

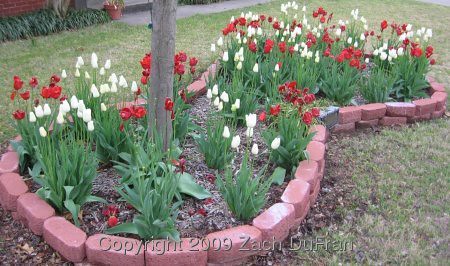
tulip_bed_slant_2009
Partial bird's eye view of the tulip bed - Spring 2009
From the street, you don't really see a geometrical design, you just see a sea of red and white tulips.   But from above, you can see the pattern pretty well.  Each year they multiply and multiply.

white_tulip_foreground
And yet more tulip pictures - Spring 2009
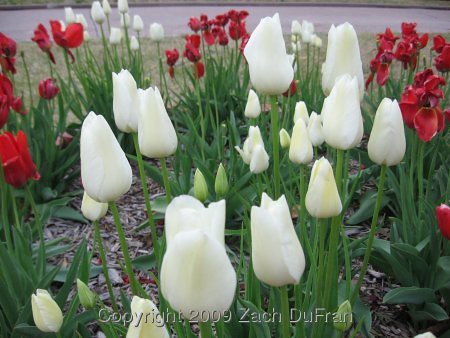
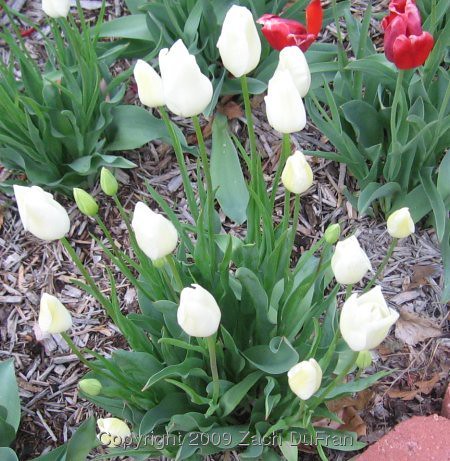
This year, I counted as many as 21 blooms in one location!  In a perfect world, each tulip bulb would double each year.  This would mean that in year two a single tulip bulb would have multiplied to 2, in year three to 4, in year four to 8, in year five to 16, and in year six to 32.  If I'm doing the math correctly, either my tulip bulbs have produced more than one offset each year (which is possible) or I planted them more than 5 years ago.  But I think my memory is correct on how long ago they were planted.

21_white_tulips
The prolific white tulip.  See if you can count all 21 buds. They're all there!
Of course, the 21 blooms was the most I counted at any one location.  Other locations had as few as 6 or 8.  Last year we dug up some of the offsets at locations where there were many more than other locations and relocated some of the bulbs to fill in the bed a little bit.  We will probably want to do the same thing again this year, once the plants have tied back to the ground surface.

red_tulip_snow_2009
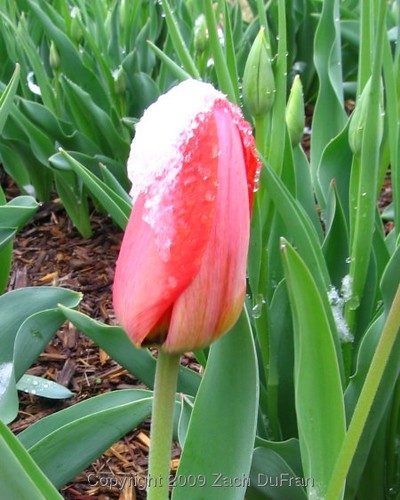
Light snow fell on the red tulip buds a couple of weeks ago, while the white tulip buds were still developing.

I was worried this year that the tulips would not all bloom because of the snow we got a couple of weeks ago after the buds were already exposed, but they weren't affected much by the quick cold snap.

open_red_tulip
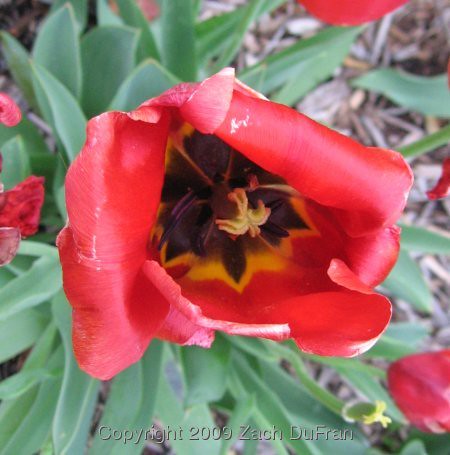
Open red tulip bud
But, as you can see, they turned out okay.  The first two pictures from this post are from 2 seasons ago simply because I didn't get a good picture of the tulip bed when both white and red tulips looked their best this year.

single_white_tulip
Single white tulip seeking long, cool blooming season (also, long walks on the beach, of course).

Saturday, March 29, 2008

spring blooms

Over the last couple of months I have been working on a project at work that had me computing the angle of the sun above the horizon across the US at all times of the day. Apparently the companies that take the high resolution overhead photographs for Google Earth and other mapping utilities require that the sun be at least 30 degrees above the horizon. When I started the project, about half of the US had a solar angle lower than 30 degrees all day long. Now the entire US reaches a solar angle greater than 30 degrees each day.

Kingdom Plantae has noticed! Here are some pictures of the bloomage occurring in my house and yard.

Several flowers I didn't get to until they had already wilted - including our crocuses.  I forgot to get a picture of our Flowering Quince bush when it was all blooms and no leaves, but here's what it looks like today:
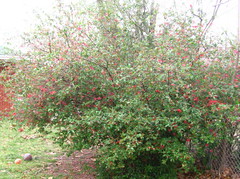
quince

Our Tulip tree (saucer magnolia) is starting to get big.  Since it has a lot of branching at ground level, I have been trying to thin it out a little each year so that it will be somewhat tree-like.  I think it is coming along pretty well.  I will probably have to remove a couple more branches this year.  Here's the gorgeous blooms:
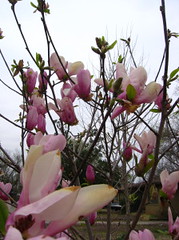
tulip_tree

We have 3 different color combinations of Daffodils in our back flower garden (all yellow, light yellow with dark yellow center, and white with orange tinted center).  Here's two of them:
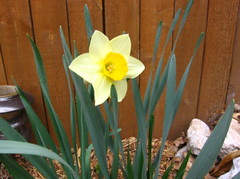
yellow_daffodil white_daffodil

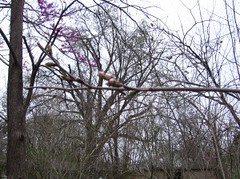
We planted a flowering cherry tree 2 years ago and within a couple of months we noticed something horribly wrong with it.  Even though it was really just a 6 foot tall twig, it appeared to have been struck by lightning or diseased or something.  Half of it had turned black and ceased growing.  There is a clear line running straight down it's skinny trunk.  All new growth has come from the other half.  We've been debating whether to dig it up and move it to a less prominent location, since we had strategically positioned it to overhang our corner garden.  But this year it surprised us.  It has its first ever cheery blossom coming out and they look to be ready to open very soon!  Can you see them in the foreground?:
cherry_tree

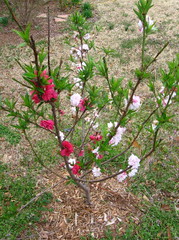
I received this flowering peach tree last year as a gift and it was covered in 2 colors of blooms when we planted it.  I'm glad to see it burst forth color again this year.  It has both magenta and light pink blooms intermixed on all the branches:
peach_tree

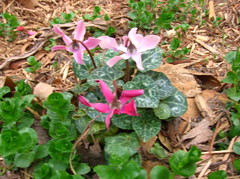
I overwintered 4 cyclamen indoors that had been very healthy all year outdoors.  They lost most of their leaves and went dormant during the winter, so I don't know how they will do with the transition.  Here is a new cyclamen that I just planted.  It also has 2 colors blooms:
cyclamen

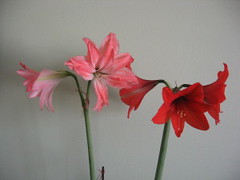
These are the amaryllis that I wrote about in my previous post.  I have had them for several years now and they rebloomed for me this year.
amaryllis

I also wrote in my last post about getting my Christmas cactus to rebloom.  Well, I have a friend that just moved to Ireland for a couple of years and left her plants behind with me while she's gone.  Her Christmas (Easter?) cactus didn't bloom at the same time as mine did, but just surprised me with some blooms in the last couple of weeks:
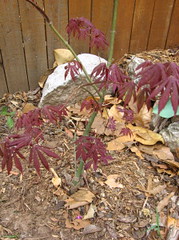
japanese_maple

This one's not really a bloom, but I was very happy to see this new little guy's foliage coming out this year.  I just planted this Japanese Maple tree last year and I wasn't sure that he was going to make it.

japanese_maple

The tulips we planted in the backyard have bloomed a couple of weeks sooner each year than those in the front yard.  I will have to post again when our tulip-filled front flower bed is in bloom.  Here is the first of our backyard tulips:
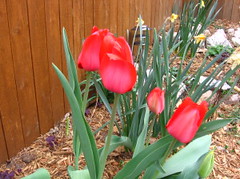
red_tulips

We bought another azalea this year.  The price was irresistible ($2.48)!  Hopefully the ones we planted last year will bloom again for us.  They might need some fertilizer encouragement.  Here's our new one:
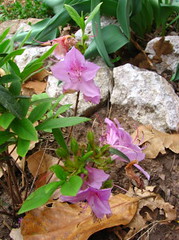
azalea

I was suprised to see these tiny blooms on my little leopard lily (an indoor plant).  The blooms actually have little purple stamens coming out of the white flowers.  I couldn't pick up the detail with my camera though.
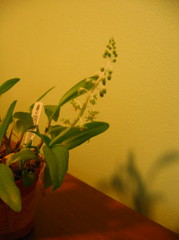
leopard_lily

I will post more blooms as they arrive.  I expect to have a BUNCH of tulips, some daylilies, irises and who knows what else!
Wednesday, October 10, 2007

What is propagation?

I’ll start from the basics. The word propagation can mean several different things.  In the context of meteorology, we use the word "propagate" to describe the movement of certain weather properties of interest. In the context of plants, the word “propagation” refers to producing new plants from one of a number of different sources (i.e., seed or clipping).


I think my interest in propagation is three-fold:
1. I would like to have more plants without buying them,

2. it’s a fun challenge and


3. the science is intriguing to me.
There are a number of methods for propagating plants.  The most simple is probably division. Many plants will reproduce underneath the soil, sending off runners and developing new plants. In this case, you can divide these plants by pulling the roots apart and separating the individual plants. Many times a plant can even be successfully divided by cutting a large root ball apart. This works well for: mature asparagus ferns, aglaonemas, wandering jew, moneywort, etc.


Another simple method of propagation is to root soft cuttings in a vase of water. Some plants that this works well for are: again wandering jew, pothos ivy, many philodendrons, lipstick plant, and pineapples.

The technique of layering deals with forcing roots to form along the stem of a plant and then removing that section of plant when the roots are mature enough to support the section without the mother plant. Did that make sense? One way of doing a layer propagation is called air-layering. It’s a neat concept that I have tried many times, with no success. First, a set of leaves is removed from a softwood stem of a plant, bush or tree. [By the way, softwood is often defined as an area of new growth that would make a “snapping” sound if you were to break it]. Next, an incision is made in the stem at this location. It is best to apply rooting hormone to the wound. (Of course, I have never had a successful rooting, so what do I know about what’s best!?!) A toothpick (or a piece of one) can be inserted in the cut to hold it open, and other toothpicks may be used as a splint, to hold the stem together (as if it were a broken bone). Lastly, the area should be wrapped in plastic with moist peat moss inside. This dressing allows the entire plant to support the section of plant which has been wounded, while encouraging roots to form in the peat moss. Here is a good website with instructions and visualizations.

There are other forms of layering, as well. Regular layering (sometimes called mound layering) is accomplished by building up the dirt around the base of a plant or bush and running several branches of the bush through the mound. Some plants will freely begin to produce roots at nodes along the buried branch or stem. Other plants require the extra encouragement of a wound and some rooting hormone.


Some of the more simple forms of propagation include starting plants from seed or corm/rhizome/bulb separation. This separation technique is much like division except that rhizome separation often requires cutting a rhizome into pieces, which is a scary step for someone who has a plant they want to multiply, not kill. Irises can be propagated by simply cutting the creeping rhizome into pieces. Conversely, tulip bulbs can simply be separated when new bulbs are formed each year.

There are some more advanced techniques that I may try eventually, but first I need to master (or at least have some limited success) with the more primitive forms of propagation. Some advanced techniques are tissue culture (micro propagation) and grafting. Tissue culture is used extensively in the nursery business, so I am told. It sounds a little complicated, but it turns out that it is not much of a mystery at all. Grafting is a common technique used for rose gardening and for fruit trees. It can be accomplished by removing a single bud from the desired rose/fruit parent plant. Then a special inverted-T shape incision is made in the host plant to hold the bud. The bud is secured in place and the plant is watered as normal. A successful grafted bud will begin to grow in about a week. An unsuccessfully grafted bud will turn black pretty quickly.

I’ll be posting again soon, chronicling “My Attempts at Propagation.”  Stay tuned!