Showing posts with label construction. Show all posts

Friday, January 13, 2012

Greenhouse facelift

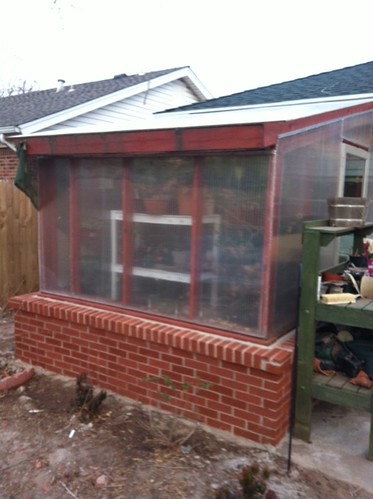
My blogging hiatus continues due to all of my free time going towards our house addition.  The addition was bricked a couple of weeks ago and it turns out that I ordered entirely too much brick.  Apparently that is difficult to do, so I have a hidden talent.  If you ever need someone to over estimate the number of bricks you need for a project, give me a call!  Anyway, I had our brick layer come back this week and use some of the extra bricks, to brick the greenhouse.  Check it out:

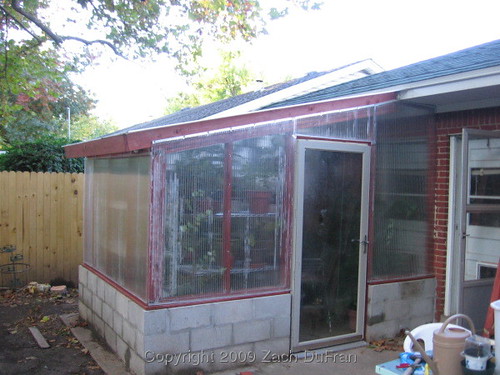
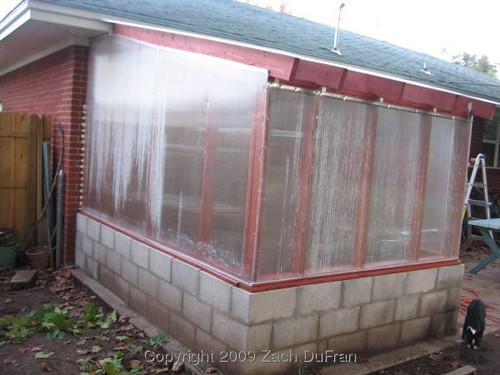
finished_poly
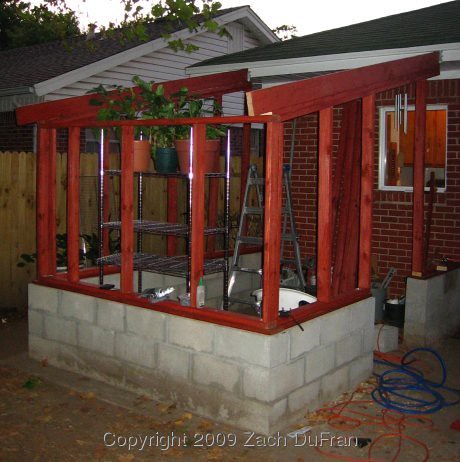
BEFORE (picture taken just after finishing the greenhouse, that brief moment before all the plants moved in)

The above picture was taken just after finishing the greenhouse, in that brief moment before all the plants went running inside.

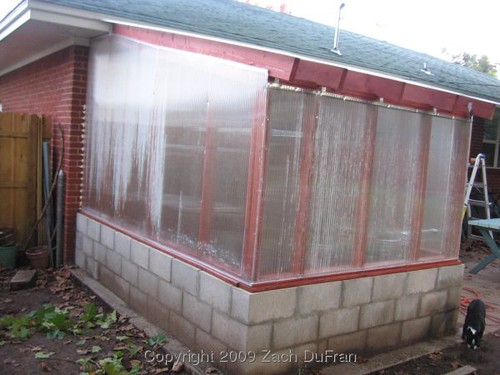
bricked_end
AFTER


Pretty nice, huh?  It's just a little sad to see my nice cinder blocks covered up.  But now the greenhouse perfectly matches the house and looks a little more official.

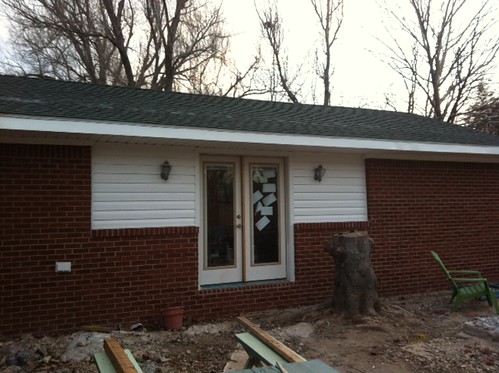
And here's a photo of our addition, all finished on the outside.  It's getting close to being finished on the inside, as well.

brick_and_siding
Finished exterior of our house addition

Tuesday, September 21, 2010

A place for potting

Last year for Christmas my parents-in-law gave me an unusual gift: a mixing bowl.  I feigned gratitude until I opened my next gift: a box of bolts.  My mother-in-law was snickering, telling me that they went together.  Okay...

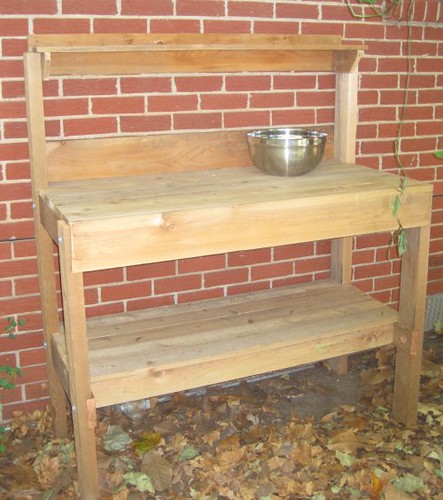
Next gift? Directions for building a potting bench!  Ah, now it makes sense.  My father-in-law told me he had bought the lumber and would deliver it to my house shortly.  They explained that the mixing bowl was for mixing my various soil ingredients and that I could cut a hole in the table top (if I wished) to hold the bowl recessed from the surface.

potting_bench
Completed potting bench
So, for the last 6 months or so I've had some really nice lumber piled up on the side of the house, and our picnic table has been covered in my plants so Christie hasn't been able to enjoy her lunch breaks outside like she likes to do.  I had a free weekend a couple of weeks ago, so I pulled out the circular saw and went to work.  Just a couple of hours into it, I had something resembling the components of a bunk bed.  Another day of work and I had a very nice looking potting bench!

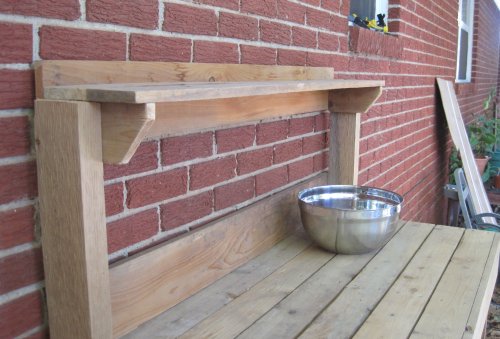
top_shelf
Top shelf of the potting bench
It fits very nicely along the wall of my greenhouse, right next to the door.  It also fits nicely under the eave of the house, where it gets a little more protection from the elements.

Now I have it loaded down with plants, leaving just enough room for repotting a plant or two on the work surface.  The lower shelf holds my bags of potting soil and extra pots.

I plan to stain it soon to protect the wood from long-term weathering.

What do you think!?!

Friday, October 23, 2009

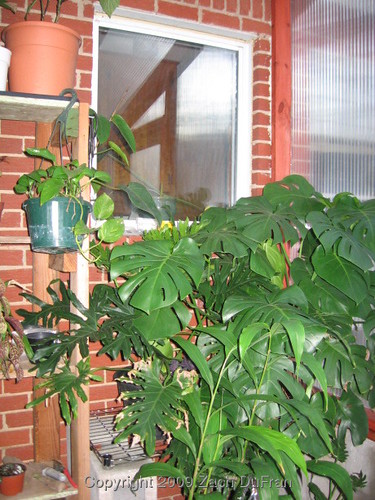
Greenhouse update - Phase 6: Move-in Day

I actually moved the plants into the greenhouse nearly a week ago, but I am just now getting to posting pictures of the interior with the plants moved in.

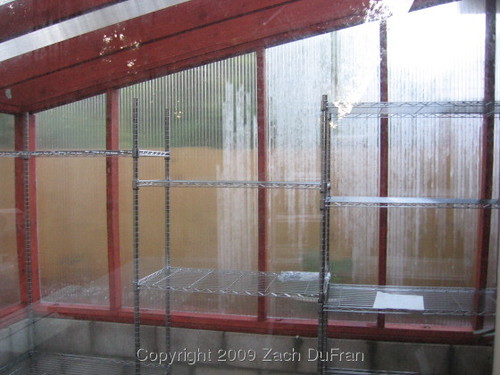
I bought three wonderful shelving units from Aldi (discount grocery store) for a sale price that is less than half their normal going price.  They come with 5 shelves each and I only need 3-4 shelves for each unit, since I have to allow room for the height of the plants.  That left me with extra shelves, which I used to combine two units out of three kits!  My remaining kit is on the opposite wall.

empty_shelves
Two units of kitchen shelves, combined to make 3.

I configured the heights of the shelves to allow for special plants that have trellises attached or are taller and need more head room.

gh_left
Looking left once you enter the door.
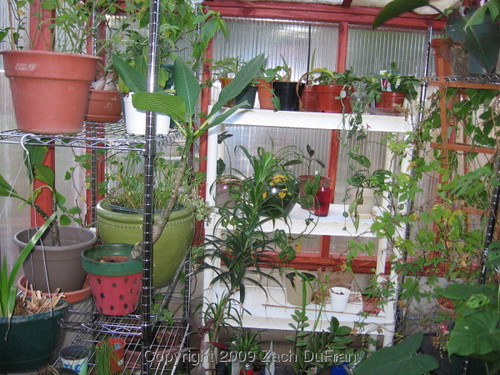
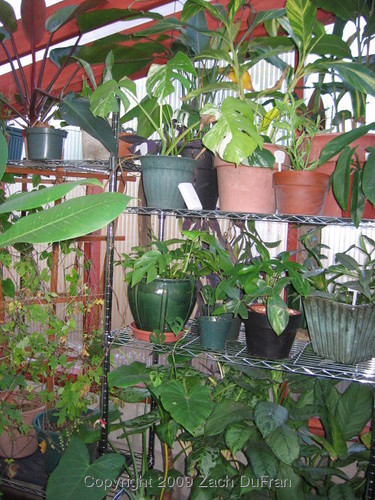
Then I spent a good deal of time on Friday and Saturday of last week, moving all my plants from the garage or inside the house into their new home in the greenhouse.

gh_center1
Looking ahead and to the left once you enter the door.

I still have quite a bit of rearranging to do and have not made the best use of my space.  There are still some shelves that are empty, while there are a couple of plants sitting on the floor.

gh_center2
Looking ahead and to the right once you enter the door.
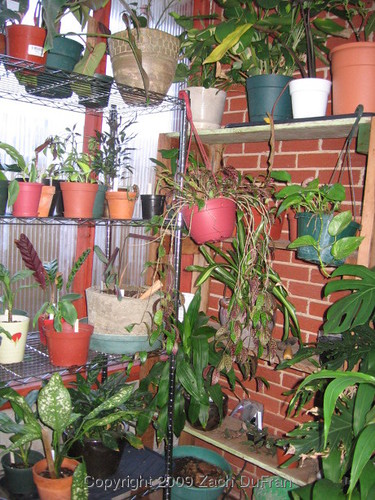
I'm sure I will be moving plants around quite a bit until I feel that everything is settled in place.

gh_right
Looking to the right once you enter the door.
I also plan to hang a metal rod (which I have on hand) under the house eave, which will allow me to hang some hanging baskets in my greenhouse.  I might also put some hooks on some of the rafters, to allow me to hang more plants over time.  But we'll just see what types of plants I end up acquiring in the future!

gh_plants_inside
View of the exterior of the greenhouse this morning.
See other phases of the project here:

Wednesday, October 21, 2009

Greenhouse update - First heater night

We are certainly feeling Fall here in Oklahoma.  A couple of cool fronts have swept through over the last week, moving the overnight lows into the 40s.

After getting the greenhouse roof in place and the door hung, I moved all of my plants into the greenhouse on Saturday and they spent their first night in their new home Saturday night, with an overnight low of 40 F.  My greenhouse stayed just below 60, with the heater kicking on and off during the night.  The next day I adjusted the thermostat to keep the greenhouse a little warmer, and the following night the temperature dropped to just about 53 and the heater kept the greenhouse between 61 and 62 all night.  Over the last two nights the heater has not had to come on and the greenhouse has stayed about 3 or 4 degrees warmer than the overnight low.


first_heater_night
Temperature over the last 72 hours in my greenhouse
The plot above shows a sawtooth pattern when the heater is kicking on and off.  You can see the night when my heater came on 12 different times over a 9 hour period.  The following two nights the temperature gradually decreased, but never low enough to trigger the heater.

I should mention that I am still not finished with the greenhouse.  The soffits are still open, so I have simply stuffed a couple towels in the gaping holes to keep air from leaking out of the eaves for the time being.  I should get the soffits attached later this week.

Also, I just finished the trim around the door and put weather stripping in place on Monday, which probably helped the greenhouse stay warmer over the last two nights.

I still haven't had a big test with a freeze outside, but I feel pretty confident now that with the soffits in place, my heater will keep the interior right around 60 degrees, which will make my plants very happy.

Stay tuned for pictures of my finishing touches and the plants in place!

See other phases of the project here:

Friday, October 16, 2009

Greenhouse update - Phase 5: Polycarbonate

The greenhouse is coming along.  Unfortunately the cold weather came before I finished, so Christie and I spent about an hour last Friday night, hauling all of my plants into the garage.

The final component (besides the details) to the greenhouse construction is the fastening of the walls and roof.  The material I have chosen to use is triple-wall polycarbonate panels.  These panels come in 6' by 24' sheets.  Yes, you read that right: twenty-four feet long.  The double-wall polycarbonate comes in much more manageable sizes because it is more commonly used.  The triple-wall is generally delivered in big trucks to the site of the greenhouse and assembled by a crew.  It's not commonly used for hobby greenhouses the size of mine.  When we picked up the panels at the greenhouse supply store in Oklahoma City, we had to take a circular saw with us and cut the polycarbonate on site so that it would fit in our trailer.

Then I made the mistake of unloading the polycarbonate in the backyard and letting it sit in the rain for a week.  The rain doesn't hurt the polycarbonate, but I had not capped off the ends and prepared them for hanging, so the walls filled with water.  The water is not easy to remove, let me add.

We had to use a combination of hair dryer, leaf blower, heater and dehumidifier to remove the moisture in the walls.
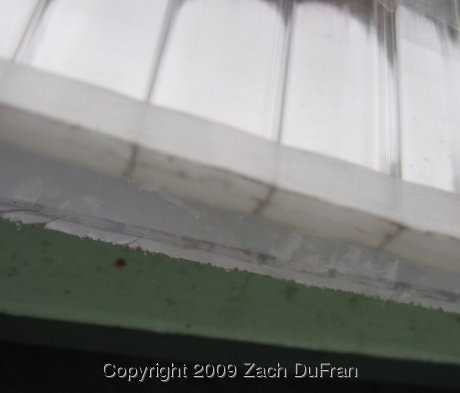
taped_poly
Open end of polycarbonate panel, taped with clear breathable medical tape to allow water to run out the bottom end.
Next we had to do the normal preparation for hanging the panels.  Before a panel is hung, you must first cap off the top of the panel with aluminum tape and then a u-shaped bracket of polycarbonate.  The bottom of the panel is capped off with porous tape (to allow condensation draining) and then another u-shaped bracket.
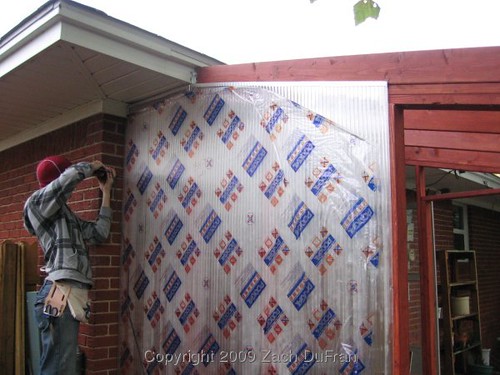
first_poly
First panel being installed.  The film with labels was removed after the panel was attached.
poly_seam
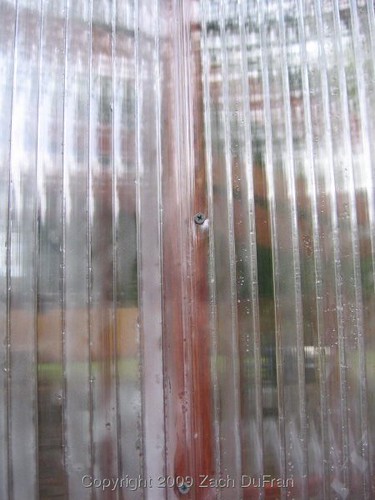
Seam of two panels meeting at a stud. You can barely notice.
After a couple of hours of work on both Saturday and Sunday, we had hung all of the walls and only had the roof left.  By that time we were pretty proficient in terms of taping and capping the panels.  The only difficulty with the roof was being able to reach over to screw the panels into the rafters.
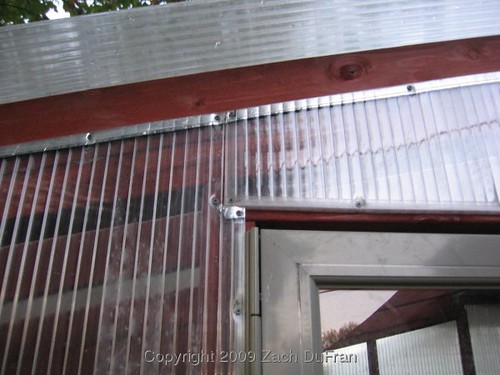
poly_over_door
Multiple panels fitting together over the door. You can see the aluminum tape used to cap the top sides of the panels.
finished_poly
View of greenhouse with all polycarbonate panels installed.  You can't really see the greenhouse roof from this angle, but trust me - it looks just like the walls.
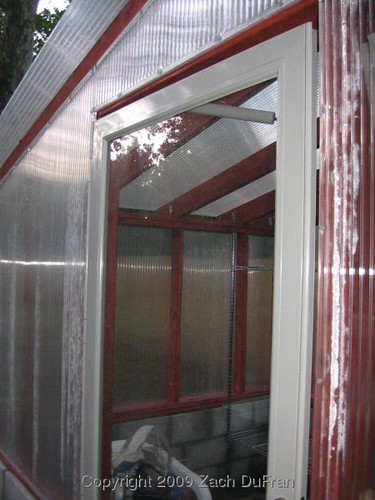
view_inside
View inside of the greenhouse through the doorway.

There is still plenty of work to do in order for my greenhouse to be plant ready: caulking, finish the door installation, attach the soffits (which are currently open), stain any remaining unfinished wood.

In my next greenhouse update, I'll take you inside to see the shelves that I have purchased!

See other phases of the project here:
Tuesday, September 29, 2009

Greenhouse update - Phase 4: Framing

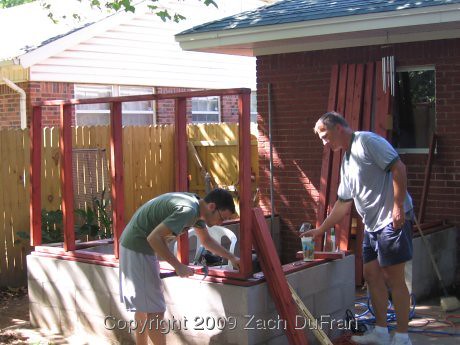
After a couple of weeks of inactivity, we began framing on Sunday.  In fact, we did more than begin!  My father-in-law has framing experience from building several houses, 1 wedding chapel and a number of other projects.  He has been a huge help.  In fact, he's pretty much been doing the framing while I hand him the tools. :)  But I'm learning.

attaching_first_wall
Bolting down the first wall
Even with several snags along the way, all of the walls were erected in a mere 5 hours.  That included a couple of breaks to go and get supplies and to partake of refreshments and dinner.

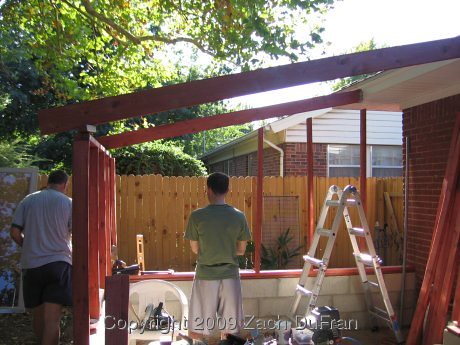
rafters
End rafters added and long wall studs being placed.
The end rafters were also mounted.  At the end of the day, I couldn't help but bring out one of my new shelving units and sit a couple of plants on it in the greenhouse.  I just wanted to get a feel for how much space the shelves would take up in the greenhouse.  It's very exciting.

framed_day1
End of the first day, with all walls framed. Notice my nice shelf with a couple of future residents checking out their new home.
I'm sure that the finishing touches will take a while, but I am very encouraged to see how quickly it has gone up so far.  Soon we will be placing the door and adding the polycarbonate.  Stay tuned!

See other phases of the project here:
Friday, September 18, 2009

Greenhouse update - Phase 3: Anchoring

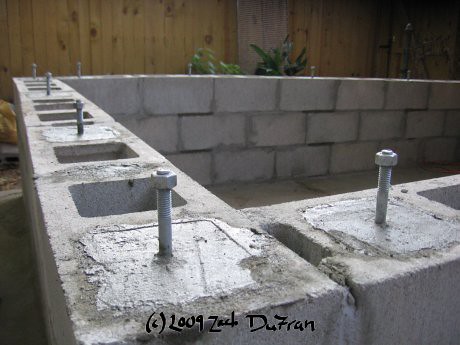
In order to tie the masonry base of the greenhouse to the framing above, I had to affix anchor bolts to the cinder block structure.  I used 10" Simpson L-bolts and set them in concrete about every 3 feet along the top of the wall.

anchor_bolts
Anchor bolts placed in concrete
At the same time, I stuck a 24" length of rebar in each of the concrete-filled holes, for better stability of the walls.  After drilling precisely-placed holes in the base boards of the framing, we can now attach the walls to the cinder block and everything will be very solid.

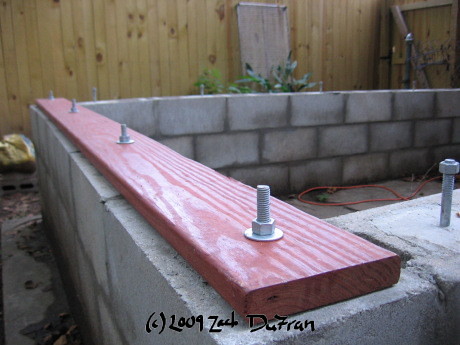
I am using 1x6 decking boards to cap off the holes of the cinder block wall.  These 1x6 boards will lay just beneath the regular 2x4 framing.  Drilling the holes in the correct location was not an easy task, but the first board is now attached and the others should be a little easier.

anchored_board
1x6 tied down with anchor bolts
As you can see, there is still plenty of room on the bolt to lay a single 2x4 lengthwise on top of the 1x6.  Assuming I measured correctly when I set the bolts in concrete, the nut should be just at the top of bolt when the 2x4 is attached.

Framing should start in about a week!

See other phases of the project here:
Thursday, September 10, 2009

Greenhouse update - Phase 2: Staining

One of the requirements for us building a greenhouse on our back porch is that is must look nice from the outside as well as the inside.  It can't be some unsightly building with a garden of Eden inside.  That's why we plan to eventually cover over the cinder block with brick that matches our house.  That's also why we decided to stain all of our lumber before doing the framing.

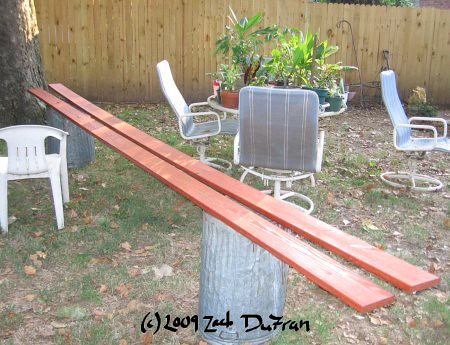
staining_station
The staining station where Christie tirelessly stained all 19 2x4s and 2 long 1x6 decking boards.
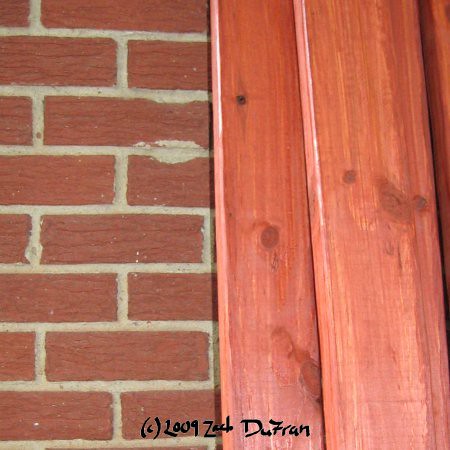
Christie spent several hours over the weekend, staining our standard 2x4s and base boards, while I was finishing with the block laying.  We chose a very red stain color, which matches the brick of our house very closely and contains all of the sealant stuff to help protect the wood for a long time.  Hopefully we won't have to re-stain the wood any more often than 8-10 years or so.

boards_and_brick
Stained boards laying up against the matching brick of our house
With the last block in place, we are ready to start the framing!

See other phases of the project here:
Tuesday, September 1, 2009

Greenhouse update - Phase 1: Masonry

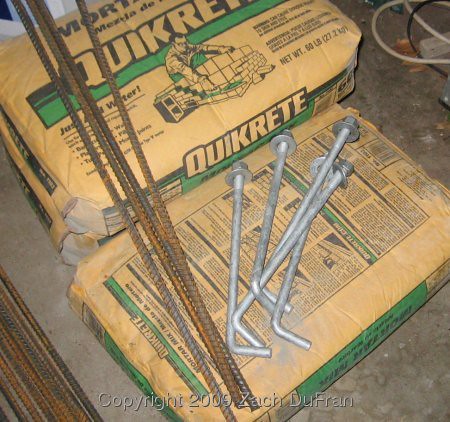
This weekend we got down to business on the greenhouse construction.  I spent a couple of hours on Saturday gathering supplies.  I made a trip to Lowe's to get two truck fulls worth of  lumber and cinder blocks.  I honestly won't need the lumber for a little while, but I wanted to make best use of the 10% coupon I had.  I also purchased the mortar mix, rebar pins and anchor bolts that will be used in the construction of the walls.

mortar_bolts
Mortar mix, anchor bolts and rebar pins
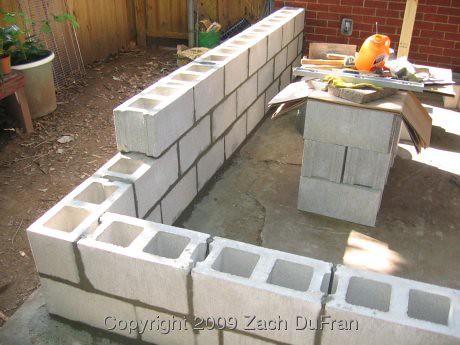
The 60 cinder blocks were loaded into the truck with a forklift, but since I don't have my own at home, they had to be unloaded by hand...  That's a lot of blocks.

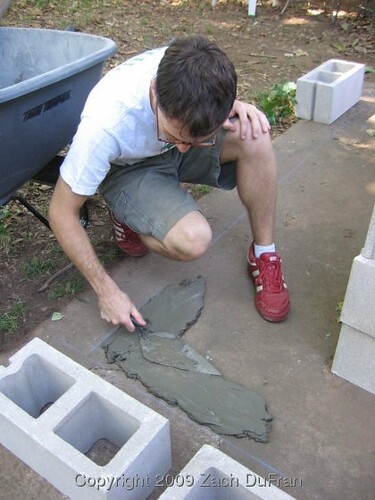
On Sunday, we got to work.  (Although Saturday wasn't exactly sitting on our butts!)  Christie and I carefully chalked the perimeter of the greenhouse.  Then I laid the first bed of mortar and carefully placed the first block.

zach_mortar_bed
Laying the mortar bed for the first block
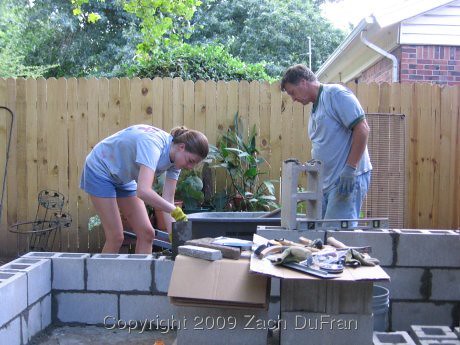
The first couple of blocks were frustrating and tedious.  But a couple of blocks later and we were cruising.  I had some help from Christie and her dad and we were able to complete much more than I had expected!

cp_ron_laying_block
Christie and her dad laying block
After we were finished laying block for the day, Christie meticulously cleaned the tools and the work area, making sure that all of the mortar lines looked clean and filled.

phase1_close
Finish of the first day
See other phases of the project here: